[Check Latest Arrivals bath patch kit on Amazon.]
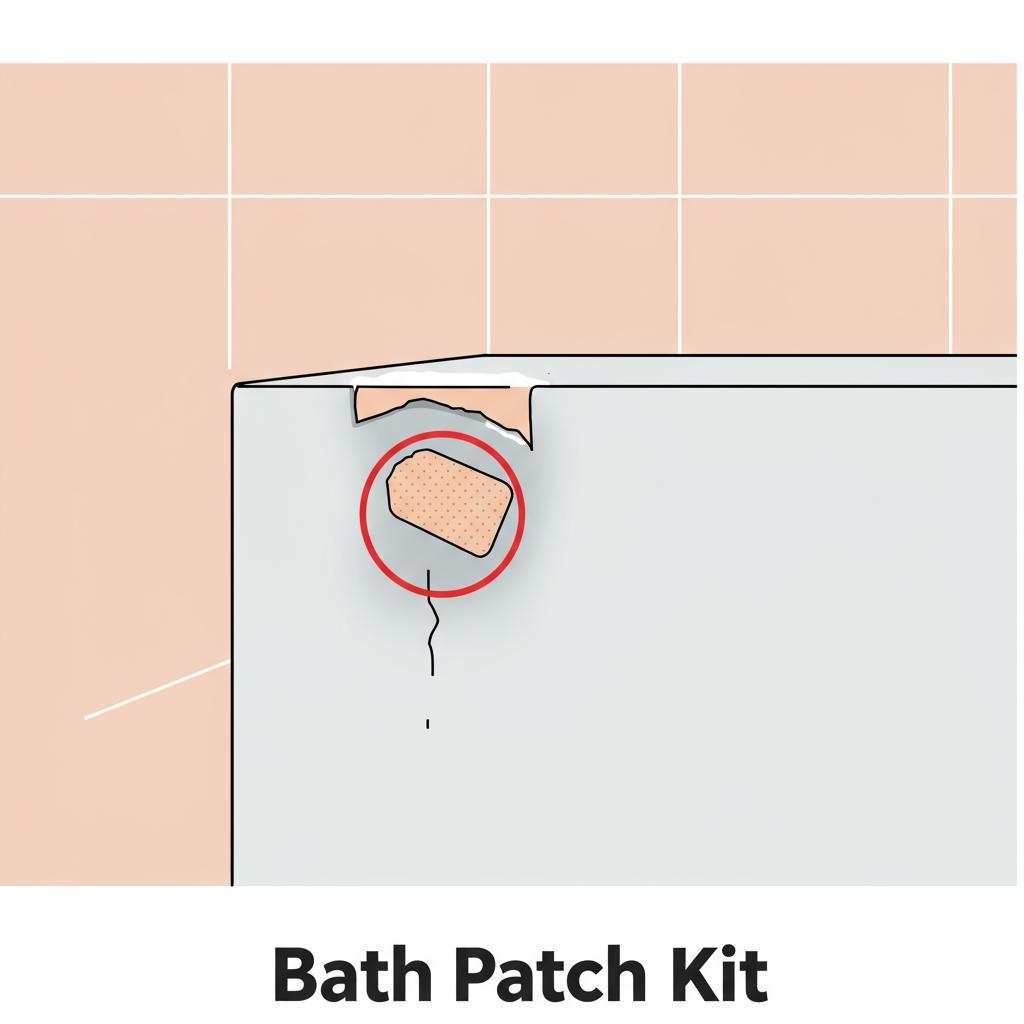
# Bath Patch Kit: The Ultimate Guide to Easy Tub & Shower Repairs
Is your bathtub or shower looking a little worse for wear? Cracks, chips, and unsightly blemishes can quickly turn a relaxing oasis into an eyesore. But before you start panicking about expensive renovations, let’s talk about a simple, effective, and budget-friendly solution: the bath patch kit.
This guide is your ultimate resource for understanding, selecting, and using bath patch kits to restore your tub and shower to their former glory. We’ll walk you through everything you need to know for a successful repair, saving you time, money, and the headache of major remodeling. Let’s dive in!
[Explore Top Rated bath patch kit on Amazon.]
## Why Choose a Bath Patch Kit?
Before we get into the specifics, let’s address the big question: why choose a bath patch kit over other repair options? The answer is multifaceted, offering benefits that appeal to both DIY enthusiasts and those seeking a quick and cost-effective fix.
* **Cost-Effectiveness:** Professional bathtub or shower repairs can be surprisingly expensive, often costing hundreds or even thousands of dollars. A bath patch kit, on the other hand, typically costs between $20 and $50, making it a significantly more affordable option.
* **DIY Simplicity:** Many bath patch kits are designed for ease of use, even for individuals with limited home repair experience. Clear instructions and readily available online tutorials make the process straightforward and manageable.
* **Time Savings:** Unlike extensive repairs that can take days or even weeks to complete, a bath patch kit can often be applied and cured within a matter of hours. This minimizes disruption to your daily routine and allows you to enjoy your refreshed bathroom sooner.
* **Aesthetic Improvement:** A well-applied bath patch kit can seamlessly blend with your existing tub or shower surface, effectively concealing cracks, chips, and other imperfections. This can dramatically improve the overall appearance of your bathroom without the need for a complete renovation.
* **Extends the Life of Fixtures:** By addressing minor damage promptly with a **bath patch kit**, you can prevent further deterioration and extend the lifespan of your bathtub or shower. This can save you from having to replace your tub or shower surround entirely in the near future!
[Explore Top Rated bath patch kit on Amazon.]
## Step-by-Step Guide to Using a Bath Patch Kit
Now, let’s get to the heart of the matter: how to effectively use a **bath patch kit** to repair your tub or shower. This step-by-step guide will walk you through the process, ensuring a professional-looking and long-lasting result.
### Step 1: Gather Your Supplies
Before you begin, it’s crucial to gather all the necessary materials. This will streamline the repair process and prevent frustrating interruptions. You’ll need:
* **Bath Patch Kit:** Choose a kit that is specifically designed for the material of your tub or shower (e.g., porcelain, acrylic, fiberglass). Make sure the color matches, or can be mixed to match, the existing surface.
* **Cleaning Supplies:** Mild detergent, water, and a non-abrasive sponge or cloth.
* **Sandpaper:** A range of sandpaper grits (e.g., 220, 400, 600) for smoothing and preparing the damaged area.
* **Mixing Tools:** A small mixing container and a stirring stick (typically included in the kit).
* **Application Tools:** A putty knife, small spatula, or brush (depending on the kit’s instructions).
* **Protective Gloves:** To protect your hands from chemicals.
* **Safety Glasses:** To protect your eyes from dust and splashes.
* **Masking Tape:** To protect surrounding surfaces.
### Step 2: Prepare the Damaged Area
Proper preparation is essential for a successful repair. Follow these steps carefully:
1. **Clean the area:** Thoroughly clean the damaged area and the surrounding surface with mild detergent and water. Remove any soap scum, dirt, or debris. Rinse well and allow the area to dry completely.
2. **Sand the damaged area:** Use coarse-grit sandpaper (e.g., 220 grit) to remove any loose or flaking material from the damaged area. This will create a rough surface for the patch to adhere to.
3. **Feather the edges:** Gradually blend the edges of the damaged area into the surrounding surface using finer-grit sandpaper (e.g., 400 grit). This will create a smooth transition and prevent the patch from being noticeable.
4. **Clean again:** Remove any sanding dust with a clean, damp cloth. Ensure the area is completely dry before proceeding.
5. **Mask the surrounding area:** Apply masking tape around the perimeter of the damaged area to protect the surrounding surface from accidental spills or splatters.
### Step 3: Mix the Bath Patch Kit Components
Carefully follow the instructions provided with your **bath patch kit** for mixing the components. The exact procedure may vary depending on the specific product, but generally involves:
1. **Dispensing the resin and hardener:** Accurately measure the required amount of resin and hardener into the mixing container. Use the provided measuring tools or follow the specified ratios.
2. **Mixing thoroughly:** Use the stirring stick to thoroughly mix the resin and hardener together. Stir for the recommended amount of time, ensuring that the mixture is uniform in color and consistency.
3. **Working quickly:** Once the components are mixed, the bath patch kit will begin to harden. Work quickly and efficiently to apply the patch before it becomes too difficult to work with.
### Step 4: Apply the Bath Patch
Apply the mixed **bath patch** material to the prepared area using the provided application tools.
1. **Apply a thin layer:** Start by applying a thin, even layer of the mixture to the damaged area. Work it into the cracks and crevices, ensuring that the entire area is covered.
2. **Build up additional layers:** Add additional layers of the mixture as needed to fill the damaged area to the level of the surrounding surface. Allow each layer to partially cure before applying the next.
3. **Smooth the surface:** Use the putty knife or spatula to smooth the surface of the patch, blending it seamlessly with the surrounding area. Remove any excess material.
### Step 5: Allow the Patch to Cure
Curing time is critical for achieving a strong and durable repair.
1. **Follow the instructions:** Adhere to the curing time specified in the **bath patch kit** instructions. This may range from a few hours to overnight.
2. **Avoid contact:** During the curing process, avoid touching or disturbing the patch. Prevent water from coming into contact with the area. A fan can help speed up the curing process.
### Step 6: Sand and Finish (if Necessary)
Once the patch is fully cured, you may need to sand and finish it to achieve a perfectly smooth and seamless repair.
1. **Sand the patch:** If the patch is uneven or has any imperfections, use fine-grit sandpaper (e.g., 600 grit) to gently sand the surface. Blend the edges of the patch into the surrounding area until the transition is smooth.
2. **Polish the surface:** Use a polishing compound or a specialized tub and shower polish to restore the shine to the repaired area.
3. **Remove masking tape:** Carefully remove the masking tape, being careful not to damage the surrounding surface.
[Explore Top Rated bath patch kit on Amazon.]
## Tools For The Job
Using the right tools can make all the difference when repairing your bathtub or shower. Here are two products that can help to make your bath patch project a success.
**1. 3M Bondo Home Solutions Fiberglass Resin Repair Kit:** While marketed for fiberglass, this powerful resin is versatile and can handle many types of tub and shower materials.
* **Key Features:** The 3M Bondo kit is known for its exceptional strength and durability. It can withstand the rigors of daily use and resist cracking and chipping. The kit also allows you to customize the color of the resin with simple pigments. Its waterproof properties ensure a long-lasting repair, preventing water damage and further deterioration.
* **Why We Like It:** This kit’s ability to create a strong, durable, and waterproof bond makes it ideal for high-traffic areas like showers and tubs. It’s a great option for those looking for a reliable solution that lasts.
**2. K-2000 Tub and Tile Repair Kit:** This kit is pre-colored and ready to go!
* **Key Features:** The super epoxy acrylic formula is designed to fill scratches, chips, and cracks without shrinking. The K-2000 is waterproof, odorless, and safe to use indoors.
* **Why We Like It:** This K-2000 is an all-in-one solution. Just apply the compound, smooth with the included applicator, and let dry.
[Explore Top Rated bath patch kit on Amazon.]
## Pro-Tips and FAQs
Here are some additional tips and answers to common questions to help you achieve the best possible results with your **bath patch kit**:
* **Choose the right kit:** Different bath patch kits are designed for different materials. Make sure you select a kit that is compatible with the material of your tub or shower (e.g., porcelain, acrylic, fiberglass).
* **Color matching:** Pay close attention to color matching. Some kits provide color pigments that you can mix to achieve a perfect match. If you’re unsure, it’s always best to err on the side of a slightly lighter shade.
* **Ventilation:** Ensure adequate ventilation in the work area, especially when working with solvent-based kits.
* **Practice on a test surface:** If you’re new to using bath patch kits, consider practicing on a scrap piece of material before applying it to your tub or shower.
**FAQs:**
* **How long will the repair last?** The lifespan of a **bath patch repair** depends on several factors, including the quality of the materials used, the thoroughness of the preparation, and the level of wear and tear the surface is subjected to. With proper application and maintenance, a bath patch repair can last for several years.
* **Can I use a bath patch kit on a cracked tub?** Yes, a bath patch kit can be used on a cracked tub, but it’s important to address the underlying cause of the crack. If the crack is caused by structural issues, it’s best to consult with a professional before attempting to repair it.
* **Can I paint over a bath patch repair?** Yes, you can paint over a bath patch repair. Make sure the patch is fully cured and sanded smooth before applying primer and paint. Use a paint that is specifically designed for use in bathrooms, such as a mold-resistant or mildew-resistant paint.
[Explore Top Rated bath patch kit on Amazon.]
## Conclusion: Restore Your Bathroom With Confidence
With the right **bath patch kit** and a little bit of know-how, you can easily restore your tub or shower to its former glory. By following the steps outlined in this guide, you can achieve a professional-looking repair that saves you time, money, and the hassle of major renovations. So, go ahead and tackle those unsightly blemishes and enjoy a refreshed bathroom that looks and feels brand new! Don’t let minor damages detract from your enjoyment of your bathroom – a simple bath repair kit is all you need!
[Shop Budget-Friendly bath patch kit on Amazon.]

![Rubbermaid Bath Mats: Which One Prevents Slips Best? [2026 Guide]](https://www.bestbathroomrenovation.com/wp-content/uploads/2025/10/813-rubbermaid-bath-mats-which-one-prevents-slips-best-2026-guide-150x150.png)