[Check Latest Arrivals bath tub drain kit on Amazon.]
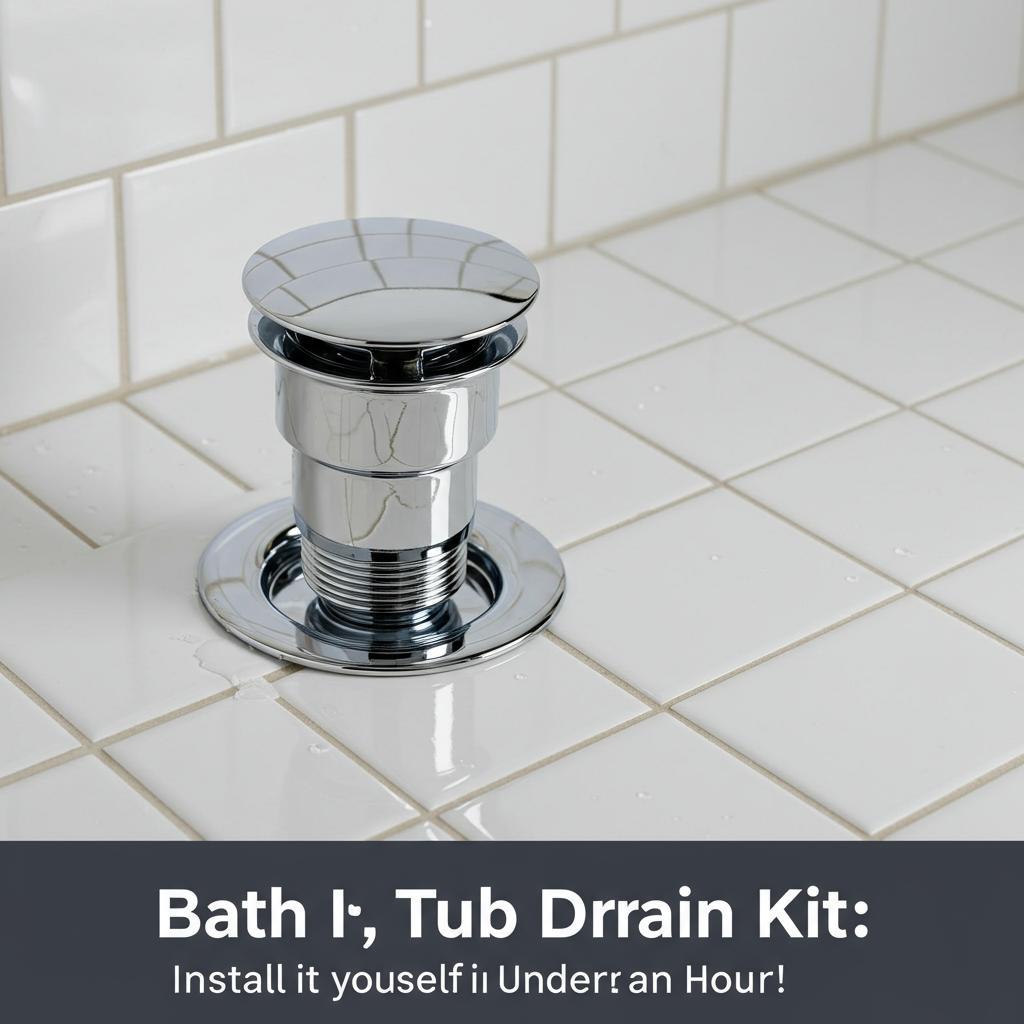
# Bath Tub Drain Kit: Install it Yourself in Under an Hour!
Okay, tackling a bath tub drain kit installation might sound intimidating, but trust me, it’s totally doable! This guide will walk you through the whole process, step-by-step, and I promise you’ll be relaxing in a freshly drained tub in less than an hour. We’re going for efficiency and simplicity here, so get ready to ditch those lingering puddles and frustrating slow drains!
[Explore Top Rated bath tub drain kit on Amazon.]
## Step 1: Gather Your Supplies
Before you even think about touching that old drain, let’s make sure you have everything you need. Running to the hardware store mid-project is a recipe for frustration (and possibly a leaky mess!). Here’s your checklist:
* **New bath tub drain kit:** Obviously! (More on choosing the right one later).
* **Adjustable wrench:** Essential for loosening and tightening connections.
* **Channel-lock pliers:** Helpful for gripping stubborn parts.
* **Putty knife or screwdriver:** For carefully prying up the old drain flange.
* **Clean rags:** To wipe up any mess. And trust me, there will be some.
* **Plumber’s putty:** To create a watertight seal (it comes in most new drain kits, but double-check).
* **Penetrating oil (like WD-40):** To help loosen corroded parts (a lifesaver for older tubs!).
* **Gloves:** Because nobody wants to touch that gunk with their bare hands.
[Explore Top Rated bath tub drain kit on Amazon.]
## Step 2: Remove the Old Drain
This is often the trickiest part, so take your time and be patient.
### 2.1 Loosen the Drain Flange
The drain flange is the round, metal piece you see inside the tub, surrounding the drain opening. It’s usually held in place by a nut underneath the tub.
1. **Access the underside of the tub:** This usually means crawling into the access panel, or if you have a pedestal tub, getting underneath it. Be prepared for some dust and cobwebs!
2. **Locate the drain nut:** It’s the large nut connected to the drain pipe directly below the tub drain.
3. **Spray with penetrating oil:** Generously spray the drain nut *and* the drain flange itself with penetrating oil. Let it sit for at least 15-20 minutes to work its magic. This is crucial, especially for older drains that have been in place for years.
4. **Loosen the nut:** Use your adjustable wrench to carefully loosen the drain nut. It might require some serious elbow grease, especially if it’s corroded. If it’s really stuck, try gently tapping the wrench with a hammer to help break it free.
5. **If the Nut is Stripped:** If the nut is too corroded, you’ll need to use a nut splitter. It is designed to crack the nut without damaging the surrounding pipes.
### 2.2 Remove the Drain Flange from the Tub
Once the nut is loose (or removed completely, depending on the drain design), you can try to remove the drain flange from inside the tub:
1. **Try unscrewing it:** Some drain flanges are simply screwed into the drain pipe. Try turning it counterclockwise to see if it comes loose.
2. **Pry it up:** If it’s not unscrewing, use your putty knife or screwdriver to carefully pry up the edge of the flange. Be *extremely* careful not to scratch the tub finish. Work your way around the flange, a little bit at a time, until it comes loose.
3. **Stubborn Flange?:** If the flange is stuck because of stubborn crud, use a rubber mallet and tap the top of the faucet in a circular motion. This should loosen the flange enough to pull it up.
### 2.3 Remove the Drain Shoe (If Necessary)
The “drain shoe” is the curved pipe fitting located directly below the drain flange. Some bath tub drain kit installations require you to replace the drain shoe as well, especially if it’s corroded or damaged.
1. **Loosen the slip nuts:** There are slip nuts connecting the drain shoe to the waste and overflow pipes. Use your adjustable wrench to loosen these nuts.
2. **Remove the drain shoe:** Once the slip nuts are loose, you should be able to pull the drain shoe free.
[Explore Top Rated bath tub drain kit on Amazon.]
## Step 3: Install the New Bath Tub Drain Kit
Now for the satisfying part – putting in the new drain!
### 3.1 Prepare the New Drain Flange
1. **Apply plumber’s putty:** Roll a generous rope of plumber’s putty and place it around the underside of the new drain flange. This is what creates the watertight seal. Don’t skimp on the putty!
2. **Seat the flange:** Carefully insert the new drain flange into the drain opening in the tub. Press down firmly to seat the putty.
### 3.2 Install the New Drain Nut
1. **From underneath the tub (again!),** slide the rubber washer and then the cardboard/fiber friction washer onto the tailpiece (that’s the threaded part of the drain flange that sticks down through the tub).
2. **Screw on the drain nut:** Tighten the drain nut by hand until it’s snug.
3. **Use the wrench:** Use your adjustable wrench to tighten the nut further. But don’t go crazy! You want it tight enough to create a good seal, but not so tight that you risk cracking the tub or stripping the threads. A good rule of thumb is to tighten it until the putty starts to squeeze out around the edge of the flange.
### 3.3 Install the New Drain Shoe (If Required)
If your bath tub drain kit includes a new drain shoe, install it now.
1. **Connect the drain shoe:** Align the new drain shoe with the waste and overflow pipes.
2. **Tighten the slip nuts:** Tighten the slip nuts by hand until they’re snug, and then use your adjustable wrench to tighten them further. Again, don’t overtighten!
### 3.4 Clean up Excess Putty
Use your finger or a rag to wipe away any excess plumber’s putty that has squeezed out around the edge of the drain flange inside the tub.
[Explore Top Rated bath tub drain kit on Amazon.]
## Step 4: Test for Leaks
This is *crucial*. The last thing you want is a leaky drain after all that work!
1. **Plug the drain:** Use a stopper or a rag to plug the drain.
2. **Fill the tub:** Fill the tub with a few inches of water.
3. **Check for leaks:** Carefully inspect the drain flange and the connections underneath the tub for any leaks. If you see any leaks, tighten the drain nut or the slip nuts as needed.
4. **Repeat if Necessary:** It may take a couple of tries to get a perfect seal. Be patient and persistent!
[Explore Top Rated bath tub drain kit on Amazon.]
## Tools for the Job
Okay, let’s talk tools and specific products that can make this job even easier.
* **The Wrench:** The **RIDGID 31010 Model 814 Aluminum Straight Pipe Wrench**, is lightweight and can get into those tight spaces under the tub. Its adjustable jaw makes gripping those corroded nuts a breeze.
* **The Drain Remover:** The **BrassCraft Drain Removal Tool** This tool is specifically designed to grip the drain flange and twist it out, especially helpful if it’s stripped or stuck. No more struggling with screwdrivers and pliers! The key features of this tool are its multiple gripping teeth, fits various drain sizes, and durable brass construction ensuring it lasts for many plumbing projects.
These simple tools can turn a frustrating ordeal into a smooth, relatively quick installation.
[Explore Top Rated bath tub drain kit on Amazon.]
## Pro-Tips / FAQ Section
* **Dealing with a Stripped Nut:** If you’re battling a stripped nut, don’t panic! A nut splitter is your best friend. These handy tools are designed to crack the nut without damaging the surrounding pipes.
* **My Drain Still Drains Slowly!**: Even after replacing the drain, you may still have a clog. In that case try using a drain snake (also called an auger) to remove hair and gunk from the drain pipe.
* **Choosing the Right Bath Tub Drain Kit:** Not all bath tub drain kits are created equal. Make sure you choose one that is compatible with your tub. Pay attention to the drain size and the type of drain connection. A universal bath tub drain kit can save you the headache of choosing the precise fit.
* **Will this work with any tub?** While this process is largely the same, clawfoot tub drains can vary significantly. Always consult your tub’s manual.
* **How do I know if I need to replace the drain shoe?** Only replace the drain shoe if it’s visibly damaged, corroded, or leaking.
[Explore Top Rated bath tub drain kit on Amazon.]
## Encouraging Conclusion
Congratulations! You’ve successfully installed a new bath tub drain kit. No more standing in ankle-deep water while you shower! You’ve saved yourself a ton of money by doing it yourself, and you’ve gained a valuable skill that you can use again and again. Now, go relax in that freshly drained tub, you’ve earned it! Replacing a bath tub drain kit is a simple task with patience and this guide. Enjoy!
[Shop Budget-Friendly bath tub drain kit on Amazon.]

![Rubbermaid Bath Mats: Which One Prevents Slips Best? [2026 Guide]](https://www.bestbathroomrenovation.com/wp-content/uploads/2025/10/813-rubbermaid-bath-mats-which-one-prevents-slips-best-2026-guide-150x150.png)